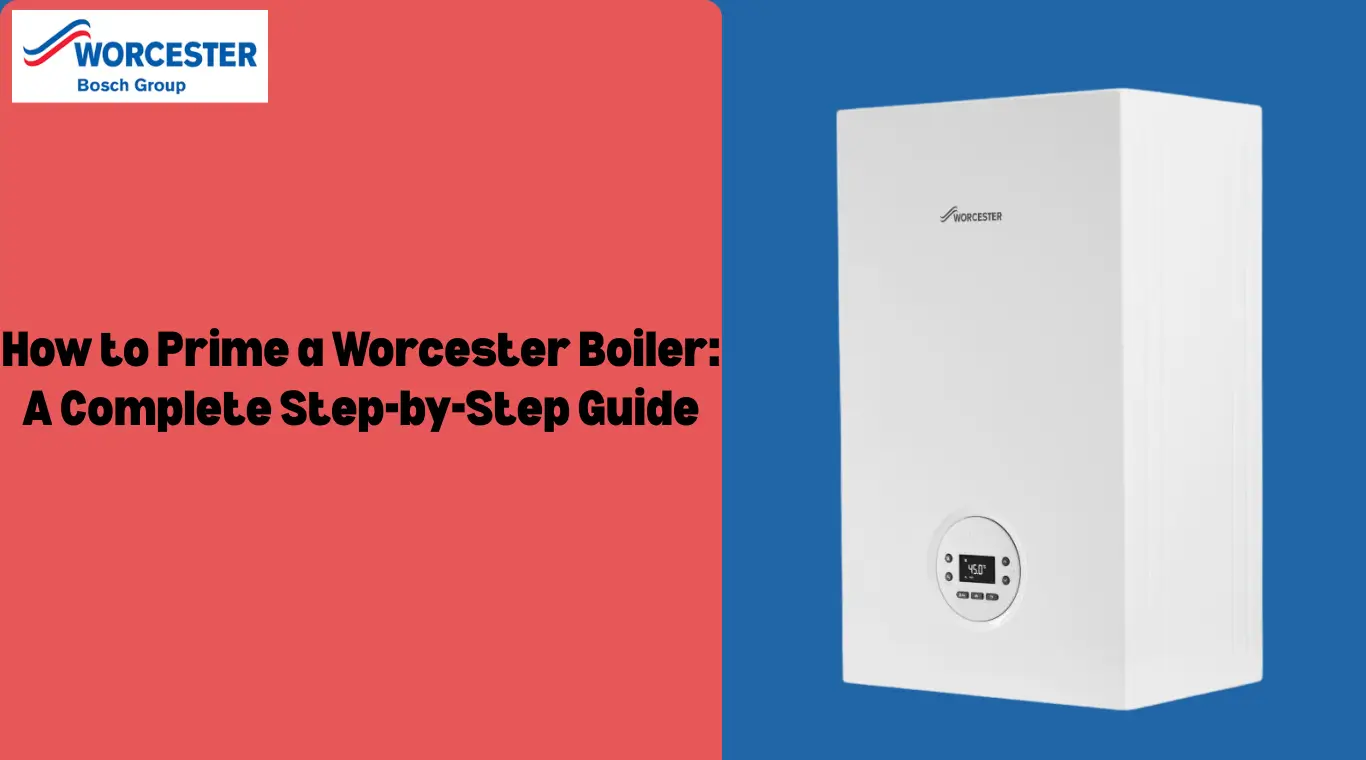
How to Prime a Worcester Boiler: A Complete Step-by-Step Guide
Priming your Worcester boiler is an important part of maintaining its efficiency and preventing future breakdowns. Whether you own a gas or oil model, regular priming ensures your heating system functions optimally and safely. In this guide, we walk you through the process step-by-step.
Why Priming is Important
Priming your boiler removes trapped air, prevents blockages, and ensures consistent water flow through the system. It helps maintain pressure balance and improves the overall performance and lifespan of your Worcester boiler.
Step-by-Step Guide to Priming a Worcester Boiler
Time needed: 5 minutes
Follow the given steps to priming a worcester boiler
- Turn Off the Power Supply
Before beginning, always turn off the boiler’s power supply. This prevents accidents and ensures you can work safely on the system.
- Locate the Water Fill Valve
Find the water fill valve, usually located near the top of the boiler. Before proceeding, confirm that this valve is completely closed.
- Identify and Check the Pressure Relief Valve (PRV)
Locate the pressure relief valve (PRV) near the bottom of the boiler. Ensure it is also closed to maintain system pressure during priming.
- Connect a Hose to the Drain Valve
Attach a hose to the drain valve, typically found near the bottom of the boiler. Place the other end of the hose into a drain or a suitable location for water disposal.
- Open the Drain Valve
Open the drain valve to release any trapped water or air inside the boiler. Draining the system is essential to eliminate blockages or air pockets that could hinder performance.
- Close the Drain Valve and Refill the System
Once draining is complete, close the drain valve and remove the hose. Slowly open the water fill valve to let fresh water flow into the system.
- Monitor the Pressure Gauge
As the system fills with water, closely watch the pressure gauge. The pressure should rise steadily. If it climbs too quickly or exceeds the recommended level, immediately close the water fill valve and seek professional assistance.
- Release Excess Pressure
After the system primes and the pressure stabilizes, open the PRV slightly to release any excess pressure that may have built up. This final step ensures the boiler operates safely and efficiently.
Final Checks
Once you’ve completed these steps, switch the power back on and monitor your boiler for normal operation. Make sure all radiators heat up evenly and no unusual noises come from the system.
Conclusion
Priming your Worcester boiler is a straightforward process that significantly enhances its performance and longevity. By carefully following these steps, you can ensure your heating system remains reliable and efficient throughout the colder months. If you encounter any issues during the priming process, don’t hesitate to contact a professional heating engineer for assistance.
Also here is guide on How to Turn Off Air Purge Mode on a Worcester Boiler
Frequently Asked Questions
When homeowners talk about “bleeding” a Worcester boiler, they usually mean one of two things: bleeding trapped air from your home’s radiators or re-pressurising the boiler system (as radiators take in air and drop the boiler pressure).
To turn on a Worcester boiler, ensure the power is on, the system is pressurized (between 1.0–1.5 bar), and the gas supply is active. Activate the heating via your wall thermostat or boiler programmer by setting it to “On” or “Auto” and turning the desired room temperature up.
An air purge on a Worcester boiler is an automated function that cycles the pump on and off without firing the burner to push trapped air out of the system. This cycle runs for 10–15 minutes and often triggers automatically upon first startup, after a power outage, or after a system refill.